Next.js Authentication: NextAuth.js vs Clerk vs Auth0
A detailed comparison of NextAuth.js, Clerk, and Auth0 for Next.js authentication. Covers setup complexity, pricing, features, middleware integration, session management, and how to pair any provider with pre-built auth UI blocks.
SERP Blocks Team
Product
Authentication is one of the first decisions you make in any Next.js project, and it is one of the hardest to change later. Your choice of auth provider shapes how you handle sessions, protect routes, manage user data, and structure middleware. Choose the wrong provider and you are either paying too much, fighting the API, or rebuilding the integration six months later when your requirements change.
This guide compares the three most popular authentication solutions for Next.js in 2026: NextAuth.js (Auth.js), Clerk, and Auth0. For each provider, we cover setup complexity, pricing, feature set, middleware integration, session management, and the trade-offs that matter when you are choosing between them.
We are focused purely on the backend and middleware integration here. For the UI layer — login pages, sign-up forms, and forgot password screens — the auth provider does not dictate your design. We will cover how pre-built UI blocks work with any provider at the end.
Quick Comparison
Before diving into the details, here is the high-level picture:
| Factor | NextAuth.js (Auth.js) | Clerk | Auth0 |
| Type | Open-source library | Managed service | Managed service |
| Hosting | Self-hosted (your server) | Clerk's infrastructure | Auth0's infrastructure |
| Pricing | Free (you pay for infra) | Free tier + per-MAU pricing | Free tier + per-MAU pricing |
| Setup time | 30-60 minutes | 10-15 minutes | 20-40 minutes |
| UI components | None (bring your own) | Pre-built components | Pre-built Universal Login |
| Customization | Full control | Moderate (theming API) | Moderate (branding options) |
| Database | You choose and manage | Managed by Clerk | Managed by Auth0 |
| Next.js integration | Native (built for Next.js) | Purpose-built SDK | Generic SDK with Next.js adapter |
NextAuth.js (Auth.js)
NextAuth.js — now rebranded as Auth.js to reflect its support for multiple frameworks — is the open-source standard for authentication in the Next.js ecosystem. It runs on your server, stores sessions however you want, and gives you complete control over the authentication flow.
Setup
NextAuth.js requires more setup than managed services, but the result is an auth system you fully own. The basic setup for the App Router:
npm install next-auth@betaCreate the auth configuration:
// src/lib/auth.ts
import NextAuth from "next-auth";
import GitHub from "next-auth/providers/github";
import Google from "next-auth/providers/google";
import Credentials from "next-auth/providers/credentials";

export const { handlers, signIn, signOut, auth } = NextAuth({
  providers: [
    GitHub({
      clientId: process.env.GITHUB_CLIENT_ID,
      clientSecret: process.env.GITHUB_CLIENT_SECRET,
    }),
    Google({
      clientId: process.env.GOOGLE_CLIENT_ID,
      clientSecret: process.env.GOOGLE_CLIENT_SECRET,
    }),
    Credentials({
      credentials: {
        email: { label: "Email", type: "email" },
        password: { label: "Password", type: "password" },
      },
      authorize: async (credentials) => {
        // Your custom authentication logic
        const user = await verifyUser(credentials);
        return user ?? null;
      },
    }),
  ],
  callbacks: {
    authorized({ auth, request: { nextUrl } }) {
      const isLoggedIn = !!auth?.user;
      const isProtected = nextUrl.pathname.startsWith("/dashboard");
      if (isProtected && !isLoggedIn) {
        return Response.redirect(new URL("/login", nextUrl));
      }
      return true;
    },
  },
});
Set up the API route handler:
// src/app/api/auth/[...nextauth]/route.ts
import { handlers } from "@/lib/auth";
export const { GET, POST } = handlers;
Add middleware for route protection:
// src/middleware.ts
export { auth as middleware } from "@/lib/auth";

export const config = {
  matcher: ["/dashboard/:path*", "/settings/:path*"],
};
The setup takes 30-60 minutes depending on how many providers you configure and whether you add a database adapter for persistent sessions.
Database Adapters
NextAuth.js supports adapters for every major database:
Prisma — the most popular choice for TypeScript projects
Drizzle ORM — lightweight and type-safe
Supabase — Postgres with real-time capabilities
MongoDB — document-based storage
D1 / Turso — SQLite-based edge databases
Without an adapter, NextAuth.js uses JWT sessions stored in cookies. With an adapter, sessions are stored in your database, giving you more control over session management and the ability to query user data directly.
Pricing
NextAuth.js is free and open-source (ISC license). You pay only for your own infrastructure — the database, the hosting, and the OAuth provider registration (which is free for Google, GitHub, and most providers). For a project hosted on Vercel or Cloudflare Workers with a managed database, the auth layer adds no incremental cost.
Strengths
Full control — you own the code, the data, and the session logic
No vendor lock-in — switch providers, databases, or hosting without changing your auth library
No per-user pricing — whether you have 100 users or 100,000, the library cost is zero
Mature ecosystem — extensive documentation, large community, battle-tested in production
No UI opinions — you design the login and sign-up pages exactly how you want them
Weaknesses
More setup work — you configure providers, database adapters, callbacks, and middleware yourself
No hosted UI — you must build every auth page from scratch (or use pre-built blocks)
No user management dashboard — there is no admin panel for viewing users, resetting passwords, or managing sessions
Email/password is more complex — implementing credentials auth with proper password hashing, email verification, and password reset requires additional work
Clerk
Clerk is a managed authentication service built specifically for React and Next.js. It handles everything — user management, session handling, organization support, and pre-built UI components. Clerk's pitch is that you can add authentication to a Next.js app in under 15 minutes, and that is largely accurate.
Setup
Install the SDK:
npm install @clerk/nextjsAdd your Clerk keys to .env.local:
NEXT_PUBLIC_CLERK_PUBLISHABLE_KEY=pk_test_...
CLERK_SECRET_KEY=sk_test_...
Wrap your application with the Clerk provider:
// src/app/layout.tsx
import { ClerkProvider } from "@clerk/nextjs";

export default function RootLayout({ children }: { children: React.ReactNode }) {
  return (
    <ClerkProvider>
      <html lang="en">
        <body>{children}</body>
      </html>
    </ClerkProvider>
  );
}
Add middleware for route protection:
// src/middleware.ts
import { clerkMiddleware, createRouteMatcher } from "@clerk/nextjs/server";

const isProtectedRoute = createRouteMatcher([
  "/dashboard(.*)",
  "/settings(.*)",
]);

export default clerkMiddleware(async (auth, req) => {
  if (isProtectedRoute(req)) {
    await auth.protect();
  }
});

export const config = {
  matcher: ["/((?!.*\\..*|_next).*)", "/", "/(api|trpc)(.*)"],
};
That is the complete setup. Clerk's middleware handles session validation, token refresh, and redirect logic automatically. You can use Clerk's pre-built <SignIn /> and <SignUp /> components, or build your own UI using Clerk's hooks.
User Management
Clerk provides a hosted dashboard where you can:
View and search all users
Impersonate users for debugging
Manually verify or ban accounts
View session history and active sessions
Manage organizations and roles
Configure authentication methods (email, phone, social, SAML)
This dashboard is a significant time saver. With NextAuth.js, you would need to build all of this yourself or use a separate admin tool.
Pricing
Clerk's pricing is per monthly active user (MAU):
Free tier — 10,000 MAUs, includes all core features
Pro — $25/month base + $0.02 per MAU beyond 10,000
Enterprise — custom pricing for SAML SSO, advanced compliance, SLA
The free tier is generous enough for most side projects and early-stage startups. But costs scale linearly with your user base. At 50,000 MAUs, you are paying around $825/month. At 100,000 MAUs, approximately $1,825/month. For high-traffic consumer applications, this can become a significant line item.
Strengths
Fastest setup — functional authentication in 10-15 minutes
Complete solution — auth, user management, organizations, roles, and webhooks included
Pre-built components — drop-in
<SignIn />,<SignUp />,<UserButton />, and<UserProfile />componentsPurpose-built for Next.js — the SDK is designed specifically for the App Router
Hosted user management — no need to build admin tools for managing users
Weaknesses
Vendor lock-in — your user data lives on Clerk's infrastructure, migration is non-trivial
Per-user pricing — costs grow with your user base, which can become expensive at scale
Limited UI customization — Clerk's pre-built components are customizable through their theming API, but you cannot achieve the same level of design control as building your own UI
Third-party dependency — Clerk's uptime is your uptime. If their service goes down, your users cannot log in
Auth0
Auth0, owned by Okta, is an enterprise-grade identity platform that supports virtually every authentication method, protocol, and compliance requirement. It is not built specifically for Next.js, but its SDK supports the framework well.
Setup
Install the SDK:
npm install @auth0/nextjs-auth0Configure environment variables:
AUTH0_SECRET=long-random-string
AUTH0_BASE_URL=http://localhost:3000
AUTH0_ISSUER_BASE_URL=https://your-tenant.auth0.com
AUTH0_CLIENT_ID=your-client-id
AUTH0_CLIENT_SECRET=your-client-secret
Set up the API route:
// src/app/api/auth/[...auth0]/route.ts
import { handleAuth } from "@auth0/nextjs-auth0";

export const GET = handleAuth();
Add middleware for route protection:
// src/middleware.ts
import { withMiddlewareAuthRequired } from "@auth0/nextjs-auth0/edge";

export default withMiddlewareAuthRequired();

export const config = {
  matcher: ["/dashboard/:path*", "/settings/:path*"],
};
Wrap your layout with the provider:
// src/app/layout.tsx
import { UserProvider } from "@auth0/nextjs-auth0/client";

export default function RootLayout({ children }: { children: React.ReactNode }) {
  return (
    <html lang="en">
      <body>
        <UserProvider>{children}</UserProvider>
      </body>
    </html>
  );
}
Auth0's setup is more involved than Clerk's but less work than NextAuth.js. Most of the complexity is in the Auth0 dashboard configuration rather than the code.
Universal Login
Auth0's default authentication flow redirects users to a hosted login page on Auth0's domain. This page is customizable through Auth0's dashboard — you can add your logo, change colors, and modify copy. For full customization, Auth0 supports embedded login using their SDK, which lets you build the login UI entirely within your Next.js application.
The hosted Universal Login approach has security advantages (your application never handles raw passwords), but the redirect can feel jarring in single-page applications. Many teams opt for the embedded approach to maintain a seamless user experience.
Pricing
Auth0 uses a tiered pricing model:
Free — 25,000 MAUs, limited to 4 social connections
Essentials — $35/month for up to 500 MAUs, then per-MAU pricing
Professional — starts at $240/month, includes advanced features
Enterprise — custom pricing for SSO, compliance, and dedicated support
Auth0's pricing can be confusing because features are gated by tier. RBAC (role-based access control) requires at least the Essentials plan. Organizations (multi-tenant support) require Professional. SAML and enterprise SSO require Enterprise. If you need advanced features, Auth0 is among the most expensive options.
Strengths
Enterprise-grade — SAML SSO, SCIM provisioning, anomaly detection, breached password detection
Protocol support — OAuth 2.0, OpenID Connect, SAML, WS-Federation, LDAP
Compliance — SOC 2, HIPAA, PCI DSS, GDPR certifications
Actions and Hooks — extensibility through serverless functions that run during the auth flow
Multi-tenant support — Organizations feature for B2B SaaS with per-tenant authentication
Weaknesses
Complex pricing — feature gating across tiers makes cost estimation difficult
Generic SDK — not built specifically for Next.js, which means some App Router patterns require workarounds
Dashboard complexity — Auth0's configuration dashboard has a steep learning curve
Redirect-based flow — Universal Login redirects users to Auth0's domain, which can feel disconnected
Overkill for simple apps — if you need email/password and Google login, Auth0's feature set is far more than you need
Session Management Comparison
How each provider handles sessions affects performance, security, and developer experience.
NextAuth.js Sessions
NextAuth.js supports two session strategies:
JWT (default): Sessions are encoded in a signed cookie. No database lookup is required to validate a session, which makes it fast. The trade-off is that you cannot invalidate individual sessions server-side — you would need to implement a token blacklist.
Database sessions: Sessions are stored in your database with a session token in the cookie. Every request validates the session against the database. This lets you invalidate sessions, see active sessions per user, and enforce single-session policies. It adds a database query to every authenticated request.
Clerk Sessions
Clerk uses short-lived JWT tokens (valid for about 60 seconds) combined with server-side session validation. The middleware automatically refreshes tokens. This hybrid approach gives you the performance of JWTs with the security of server-side validation. Clerk handles session revocation, device management, and concurrent session limits through their dashboard.
Auth0 Sessions
Auth0 uses encrypted cookies to store session data. Sessions can be configured as rolling (extend on activity) or absolute (expire after a fixed duration). Auth0's back-channel logout feature lets you invalidate sessions across all applications when a user logs out from one — useful for enterprise SSO scenarios.
Middleware Integration
Middleware is where auth providers interact most directly with the Next.js App Router. Middleware runs before every request and is the right place to check authentication status and redirect unauthenticated users.
All three providers support Next.js middleware, but the ergonomics differ:
NextAuth.js exports the auth function as middleware directly. You control the matching logic in the authorized callback. This gives you fine-grained control but requires more code.
Clerk provides clerkMiddleware with a createRouteMatcher helper that makes route matching declarative. The pattern is clean and readable, and you can combine authentication checks with role-based access control.
Auth0 offers withMiddlewareAuthRequired which protects all matched routes. For more granular control, you write custom middleware using Auth0's session helpers, which is less ergonomic than Clerk's approach but more flexible than the default wrapper.
For applications with complex authorization rules — role-based access, organization-level permissions, feature flags — Clerk's middleware is the most developer-friendly. For simple "is the user logged in" checks, all three work well.
Which Provider Should You Choose?
Choose NextAuth.js if:
You want full control over your auth system and user data
You are cost-sensitive and do not want per-user pricing
You are comfortable with more initial setup work
You need to use a specific database or ORM
You value avoiding vendor lock-in
You are building an open-source project
Choose Clerk if:
You want the fastest path to working authentication
You need a user management dashboard out of the box
You are building a B2B SaaS with organizations and roles
Your user count will stay under 50,000 MAUs (or the cost is acceptable)
You want purpose-built Next.js integration
Choose Auth0 if:
You need enterprise features: SAML SSO, SCIM, compliance certifications
You are in a regulated industry (healthcare, finance, government)
You need to integrate with legacy identity systems (LDAP, Active Directory)
You are building a platform with multiple applications sharing a single identity
Your organization already uses Okta's identity platform
The UI Layer: Independent of Your Auth Provider
Here is something that teams often overlook: your authentication UI and your authentication backend are separate concerns. The login form collects credentials and calls an API. The sign-up form collects user details and calls a different API. The forgot password form collects an email and triggers a reset flow. The form UI does not care which provider processes the request.
This means you can design and build beautiful auth pages independently of your provider choice. Whether you use NextAuth.js, Clerk, Auth0, or any other provider, the form structure, layout, and visual design stay the same. You just wire the form submission to the right API endpoint.
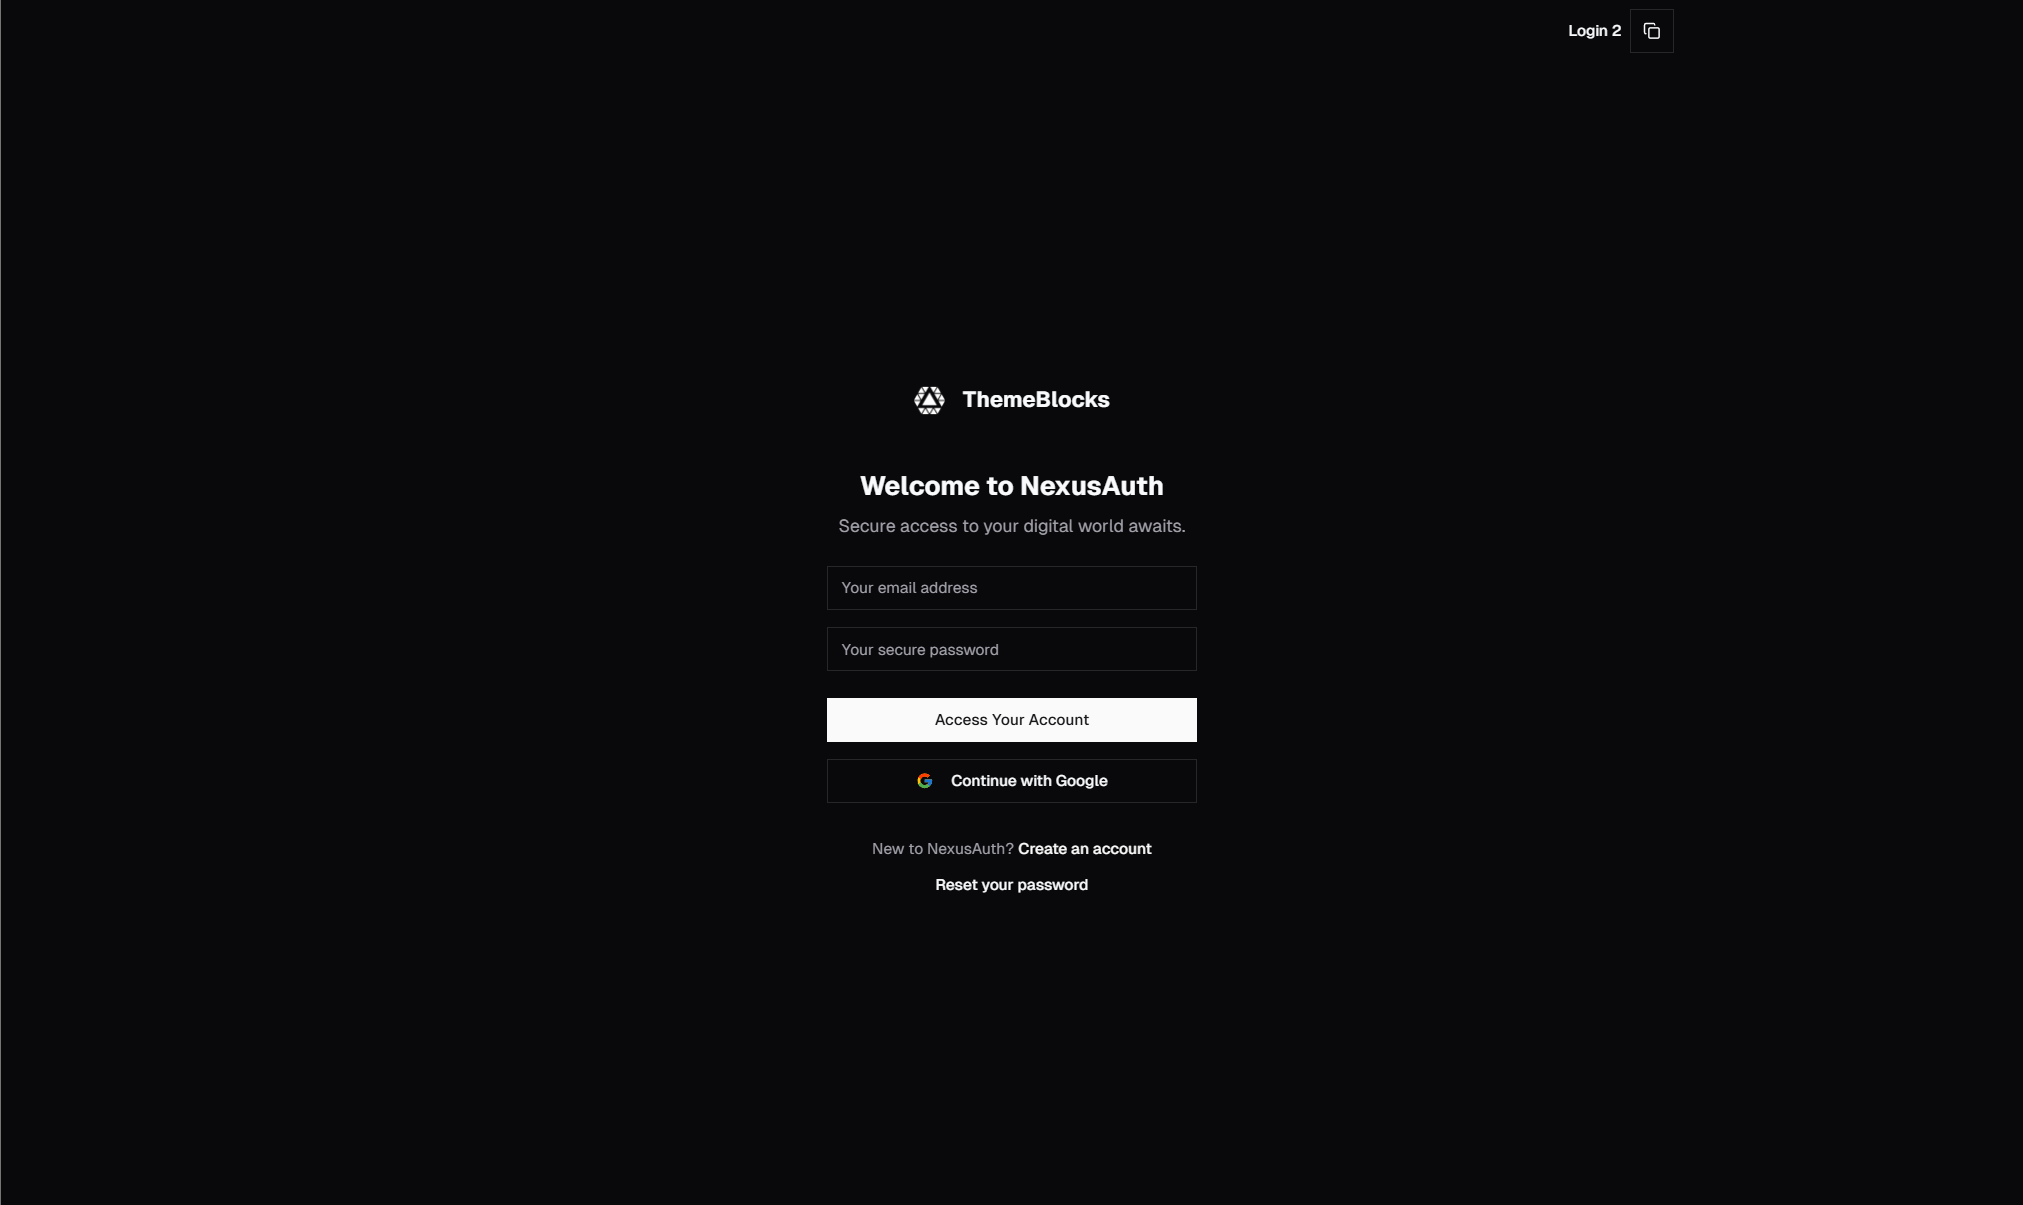
SERP Blocks includes a comprehensive set of authentication UI blocks:
17 login page designs — centered card, split-screen, social login, OTP verification, magic link, and more
11 sign-up form designs — single-step, multi-step, social registration, invitation-only flows
10 forgot password screens — email input, verification code entry, password reset confirmation
Every block is built with Shadcn UI and Tailwind CSS, and they are designed to be provider-agnostic. Drop a login block into your project, replace the form action with your provider's sign-in function, and you have a polished login page that matches the rest of your application's design system.
If you are using NextAuth.js with the Credentials provider, the login form calls your signIn function. If you are using Clerk's embedded mode, the form uses Clerk's useSignIn hook. If you are using Auth0's embedded login, the form calls Auth0's loginWithCredentials. The form markup and styling remain identical — only the handler changes.
Beyond authentication pages, these blocks sit within the broader SERP Blocks ecosystem of 1,200+ blocks across 50+ categories. After your user logs in, they land on a dashboard page, manage their profile in account overview and settings pages, and navigate with a navbar or admin sidebar. The authentication UI is just the first touchpoint in a complete application experience.
60 blocks are available free. The full Pro library is a one-time purchase — no monthly fees that grow alongside your auth provider bill.
Final Thoughts
The authentication landscape for Next.js is mature and well-served by all three providers. NextAuth.js gives you ownership and flexibility. Clerk gives you speed and convenience. Auth0 gives you enterprise capabilities and compliance. None of them is the wrong choice — they serve different priorities.
Start by listing your actual requirements. Do you need SSO? Multi-tenant organizations? User management UI? Specific compliance certifications? The answers will narrow your options quickly. For most indie developers and startups, NextAuth.js or Clerk covers everything you need. For enterprise B2B products selling to large organizations, Auth0's feature set justifies its complexity and cost.
Whichever provider you choose, the auth UI layer is yours to design. Start with pre-built login, sign-up, and forgot password blocks to ship a polished authentication experience on day one, then customize as your product evolves.