Shadcn UI + Supabase: Full-Stack App in 30 Minutes
Build a complete full-stack application with Supabase backend and Shadcn UI frontend. Covers authentication, database queries, real-time subscriptions, Row Level Security, and deployment with Next.js App Router.
SERP Blocks Team
Product
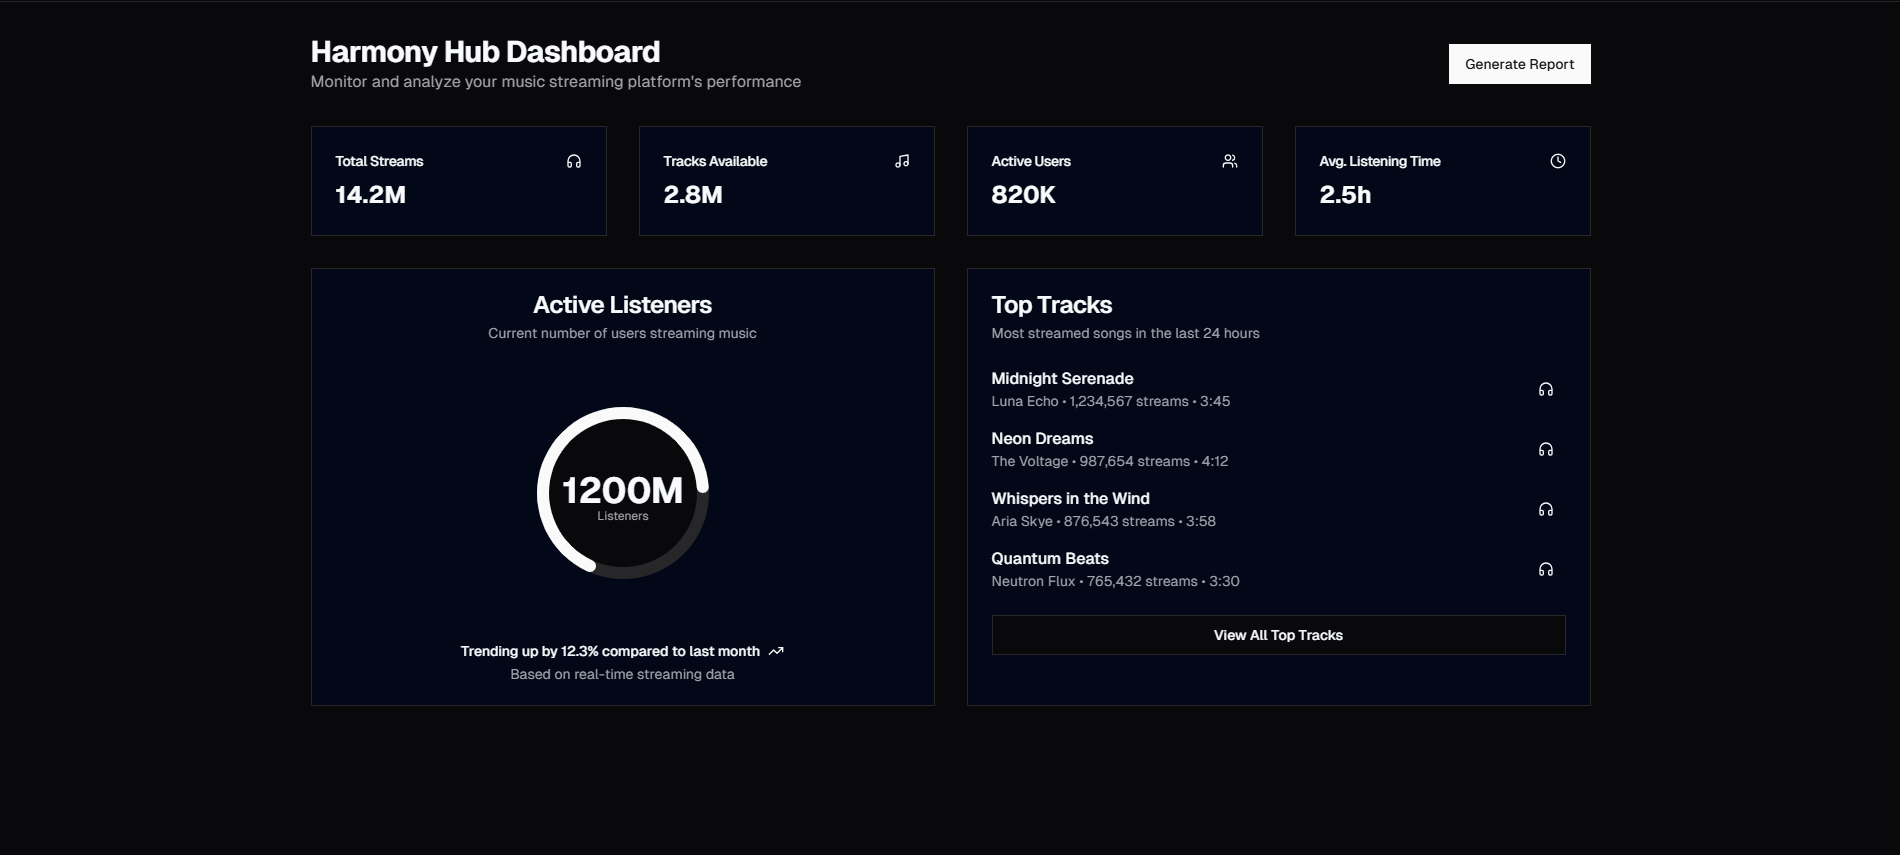
Supabase gives you a Postgres database, authentication, file storage, edge functions, and real-time subscriptions through a single hosted service with a generous free tier. Next.js gives you server components, server actions, and a file-based routing system that handles both frontend rendering and backend logic. Shadcn UI gives you a design system built on Radix primitives and Tailwind CSS that you own and can customize without fighting abstraction layers.
Put the three together and you can go from an empty directory to a deployed full-stack application with authentication, a database-connected dashboard, and real-time updates in under 30 minutes. Not a prototype — a production-grade application with proper security, type safety, and polished UI. This guide walks through that process step by step.
The UI layer uses blocks from SERP Blocks, which provides 1,200+ pre-built Shadcn UI blocks across 55+ categories. For a full-stack app, the relevant categories are 17 login blocks, 11 sign-up blocks, 20 dashboard blocks, 17 table blocks, 10 settings blocks, and 10 account overview blocks. Instead of building these from scratch, you drop in a block and connect it to Supabase.
Project Setup
Start with a Next.js project and install the Supabase client libraries:
npx create-next-app@latest my-app --typescript --tailwind --eslint --app --src-dir
cd my-app
npx shadcn@latest init
npm install @supabase/supabase-js @supabase/ssr
Create a Supabase project at supabase.com. From the project settings, grab your project URL and anon key. Add them to your environment variables:
NEXT_PUBLIC_SUPABASE_URL=https://your-project.supabase.co
NEXT_PUBLIC_SUPABASE_ANON_KEY=eyJ...your-anon-key
The anon key is safe to expose on the client. It only grants access that your Row Level Security policies allow — which, by default, is nothing. We will configure those policies after setting up authentication.
You need two Supabase client utilities — one for server components and server actions, one for client components:
// lib/supabase/server.ts
import { createServerClient } from "@supabase/ssr";
import { cookies } from "next/headers";

export async function createClient() {
  const cookieStore = await cookies();

  return createServerClient(
    process.env.NEXT_PUBLIC_SUPABASE_URL!,
    process.env.NEXT_PUBLIC_SUPABASE_ANON_KEY!,
    {
      cookies: {
        getAll() {
          return cookieStore.getAll();
        },
        setAll(cookiesToSet) {
          cookiesToSet.forEach(({ name, value, options }) =>
            cookieStore.set(name, value, options)
          );
        },
      },
    }
  );
}
// lib/supabase/client.ts
import { createBrowserClient } from "@supabase/ssr";
export function createClient() {
return createBrowserClient(
process.env.NEXT_PUBLIC_SUPABASE_URL!,
process.env.NEXT_PUBLIC_SUPABASE_ANON_KEY!
);
}The server client reads and writes authentication cookies through Next.js's cookies() API. The browser client handles cookies automatically through the browser. This separation is necessary because server components and client components have different runtime environments with different cookie access patterns.
Authentication with Supabase
Authentication is the first feature to build because Row Level Security policies depend on knowing who the current user is. Supabase Auth supports email/password, magic links, OAuth providers (Google, GitHub, Discord, and more), and phone authentication out of the box.
The Login Page
Pick a login block from the login collection (17 designs). The collection includes centered card layouts, split-screen designs with hero images, minimal forms, and layouts with social login buttons. Choose one that matches your brand and drop it into your project.
The login block gives you the visual structure — email input, password input, submit button, "Forgot password?" link, and a "Sign up" link at the bottom. Wire the form submission to a server action:
// app/actions/auth.ts
"use server";

import { createClient } from "@/lib/supabase/server";
import { redirect } from "next/navigation";

export async function signIn(formData: FormData) {
  const supabase = await createClient();

  const { error } = await supabase.auth.signInWithPassword({
    email: formData.get("email") as string,
    password: formData.get("password") as string,
  });

  if (error) {
    return { error: error.message };
  }

  redirect("/dashboard");
}

export async function signUp(formData: FormData) {
  const supabase = await createClient();

  const { error } = await supabase.auth.signUp({
    email: formData.get("email") as string,
    password: formData.get("password") as string,
  });

  if (error) {
    return { error: error.message };
  }

  redirect("/check-email");
}

export async function signOut() {
  const supabase = await createClient();
  await supabase.auth.signOut();
  redirect("/login");
}
Using server actions for authentication means the password never appears in client-side JavaScript network requests visible in browser DevTools — the form submits directly to the server. The Supabase client handles password hashing, session token creation, and cookie management internally.
The Sign-Up Page
The sign-up blocks (11 designs) mirror the login blocks but include additional fields — name, password confirmation, terms acceptance checkbox. Wire the form to the signUp server action above.
After sign-up, Supabase sends a confirmation email by default. The user clicks the link, which hits a callback route in your app that exchanges the auth code for a session:
// app/auth/callback/route.ts
import { createClient } from "@/lib/supabase/server";
import { NextResponse } from "next/server";

export async function GET(request: Request) {
  const { searchParams, origin } = new URL(request.url);
  const code = searchParams.get("code");

  if (code) {
    const supabase = await createClient();
    const { error } = await supabase.auth.exchangeCodeForSession(code);
    if (!error) {
      return NextResponse.redirect(`${origin}/dashboard`);
    }
  }

  return NextResponse.redirect(`${origin}/login?error=auth`);
}
Adding OAuth Providers
Social login reduces friction significantly. Adding Google or GitHub login to your existing login block takes two steps: add the OAuth button to the UI (the login blocks include social button placements) and create a server action:
export async function signInWithGoogle() {
  const supabase = await createClient();

  const { data, error } = await supabase.auth.signInWithOAuth({
    provider: "google",
    options: {
      redirectTo: `${process.env.NEXT_PUBLIC_APP_URL}/auth/callback`,
    },
  });

  if (data.url) {
    redirect(data.url);
  }
}
Configure the OAuth provider in your Supabase Dashboard under Authentication > Providers. Supabase handles the entire OAuth flow — redirect to provider, token exchange, user creation, session management. Your callback route from the email confirmation flow handles OAuth callbacks too.
Protecting Routes with Middleware
Authentication is only useful if unauthenticated users cannot access protected pages. Add Next.js middleware that checks for a valid session on every request:
// middleware.ts
import { createServerClient } from "@supabase/ssr";
import { NextResponse, type NextRequest } from "next/server";

export async function middleware(request: NextRequest) {
  let response = NextResponse.next({ request });

  const supabase = createServerClient(
    process.env.NEXT_PUBLIC_SUPABASE_URL!,
    process.env.NEXT_PUBLIC_SUPABASE_ANON_KEY!,
    {
      cookies: {
        getAll() {
          return request.cookies.getAll();
        },
        setAll(cookiesToSet) {
          cookiesToSet.forEach(({ name, value, options }) => {
            response.cookies.set(name, value, options);
          });
        },
      },
    }
  );

  const { data: { user } } = await supabase.auth.getUser();

  if (!user && request.nextUrl.pathname.startsWith("/dashboard")) {
    return NextResponse.redirect(new URL("/login", request.url));
  }

  return response;
}

export const config = {
  matcher: ["/dashboard/:path*", "/settings/:path*", "/account/:path*"],
};
The middleware checks for a valid user session on every request to /dashboard, /settings, and /account paths. If no session exists, the user is redirected to the login page. The matcher configuration ensures the middleware only runs on protected routes, not on public pages or static assets.
Database Setup and Queries
With authentication in place, create your database tables. Supabase provides a SQL editor in the Dashboard, or you can use migrations. For a project management app (a common full-stack demo), create a tasks table:
create table tasks (
  id uuid default gen_random_uuid() primary key,
  user_id uuid references auth.users(id) on delete cascade not null,
  title text not null,
  description text,
  status text default 'todo' check (status in ('todo', 'in_progress', 'done')),
  priority text default 'medium' check (priority in ('low', 'medium', 'high')),
  due_date timestamptz,
  created_at timestamptz default now(),
  updated_at timestamptz default now()
);
Row Level Security
Row Level Security (RLS) is what makes the anon key safe to expose on the client. Without RLS, anyone with your anon key could read and modify every row in every table. With RLS enabled, Supabase evaluates a policy function on every query to determine which rows the current user can access.
Enable RLS and create policies for the tasks table:
alter table tasks enable row level security;

create policy "Users can read their own tasks"
  on tasks for select
  using (auth.uid() = user_id);

create policy "Users can create their own tasks"
  on tasks for insert
  with check (auth.uid() = user_id);

create policy "Users can update their own tasks"
  on tasks for update
  using (auth.uid() = user_id);

create policy "Users can delete their own tasks"
  on tasks for delete
  using (auth.uid() = user_id);
auth.uid() returns the ID of the currently authenticated user from the JWT token. Every query — whether it comes from a server component, a client component, or a direct API call — is filtered through these policies. A user can never read or modify another user's tasks, regardless of what query they construct. This is database-level security, not application-level — it cannot be bypassed by crafting API requests.
Querying Data in Server Components
Fetch data in server components using the Supabase client. The query automatically filters results through RLS policies:
// app/dashboard/page.tsx
import { createClient } from "@/lib/supabase/server";

export default async function DashboardPage() {
  const supabase = await createClient();

  const { data: tasks } = await supabase
    .from("tasks")
    .select("*")
    .order("created_at", { ascending: false });

  const stats = {
    total: tasks?.length ?? 0,
    todo: tasks?.filter((t) => t.status === "todo").length ?? 0,
    inProgress: tasks?.filter((t) => t.status === "in_progress").length ?? 0,
    done: tasks?.filter((t) => t.status === "done").length ?? 0,
  };

  return (
    <DashboardLayout>
      <StatsCards stats={stats} />
      <TasksTable tasks={tasks ?? []} />
    </DashboardLayout>
  );
}
The DashboardLayout component comes from the dashboard blocks (20 designs). These blocks include sidebar navigation, header bars with user menus, stat card grids, and content areas. The StatsCards component renders the four stat values in the dashboard block's stat card section — total tasks, to-do count, in-progress count, and completed count. The TasksTable component uses a table block (17 designs) to display the task list with sorting, filtering, and pagination.
Mutating Data with Server Actions
Create, update, and delete operations use server actions. This keeps database mutations on the server and provides automatic revalidation of the page data:
// app/actions/tasks.ts
"use server";

import { createClient } from "@/lib/supabase/server";
import { revalidatePath } from "next/cache";

export async function createTask(formData: FormData) {
  const supabase = await createClient();

  const { data: { user } } = await supabase.auth.getUser();
  if (!user) throw new Error("Not authenticated");

  const { error } = await supabase.from("tasks").insert({
    user_id: user.id,
    title: formData.get("title") as string,
    description: formData.get("description") as string,
    priority: formData.get("priority") as string,
    due_date: formData.get("due_date") as string || null,
  });

  if (error) return { error: error.message };

  revalidatePath("/dashboard");
}

export async function updateTaskStatus(taskId: string, status: string) {
  const supabase = await createClient();

  const { error } = await supabase
    .from("tasks")
    .update({ status, updated_at: new Date().toISOString() })
    .eq("id", taskId);

  if (error) return { error: error.message };

  revalidatePath("/dashboard");
}

export async function deleteTask(taskId: string) {
  const supabase = await createClient();

  const { error } = await supabase
    .from("tasks")
    .delete()
    .eq("id", taskId);

  if (error) return { error: error.message };

  revalidatePath("/dashboard");
}
Notice that updateTaskStatus and deleteTask do not check the user_id in the application code. They do not need to — the RLS policies enforce that a user can only update or delete rows where user_id matches their authenticated ID. If a user tries to delete another user's task by guessing the UUID, the query returns zero affected rows silently. RLS eliminates an entire class of authorization bugs.
revalidatePath("/dashboard") tells Next.js to re-render the dashboard page after the mutation, so the server component fetches fresh data and the UI updates automatically.
Real-Time Subscriptions
Supabase real-time lets you subscribe to database changes and update the UI instantly without polling. This is useful for collaborative features — multiple users viewing the same project board, a live activity feed, or a chat interface.
Set up a real-time subscription in a client component:
"use client";

import { useEffect, useState } from "react";
import { createClient } from "@/lib/supabase/client";

export function RealtimeTaskList({ initialTasks }: { initialTasks: Task[] }) {
  const [tasks, setTasks] = useState(initialTasks);

  useEffect(() => {
    const supabase = createClient();

    const channel = supabase
      .channel("tasks-changes")
      .on(
        "postgres_changes",
        {
          event: "*",
          schema: "public",
          table: "tasks",
        },
        (payload) => {
          if (payload.eventType === "INSERT") {
            setTasks((prev) => [payload.new as Task, ...prev]);
          } else if (payload.eventType === "UPDATE") {
            setTasks((prev) =>
              prev.map((t) =>
                t.id === payload.new.id ? (payload.new as Task) : t
              )
            );
          } else if (payload.eventType === "DELETE") {
            setTasks((prev) =>
              prev.filter((t) => t.id !== payload.old.id)
            );
          }
        }
      )
      .subscribe();

    return () => {
      supabase.removeChannel(channel);
    };
  }, []);

  return <TasksTable tasks={tasks} />;
}
The pattern here is important: the server component fetches the initial data and passes it to the client component as initialTasks. The client component renders immediately with server-fetched data (no loading spinner, no layout shift) and then subscribes to real-time changes. Subsequent updates from other users or other browser tabs appear instantly without a page refresh.
Enable real-time for your table in the Supabase Dashboard under Database > Replication, or with SQL:
alter publication supabase_realtime add table tasks;RLS policies apply to real-time subscriptions too. A user only receives change events for rows they have select permission on. One user's task updates are never broadcast to another user's subscription.
Settings and Account Pages
Every full-stack app needs user-facing settings. The settings blocks (10 designs) include profile editing forms, notification preference toggles, theme selectors, and danger zones with account deletion. The account overview blocks (10 designs) provide subscription status displays, usage statistics, and billing management interfaces.
Wire the profile settings form to a server action that updates the Supabase Auth user metadata:
export async function updateProfile(formData: FormData) {
  const supabase = await createClient();

  const { error } = await supabase.auth.updateUser({
    data: {
      full_name: formData.get("full_name") as string,
      avatar_url: formData.get("avatar_url") as string,
    },
  });

  if (error) return { error: error.message };

  revalidatePath("/settings");
}
Supabase Auth stores arbitrary metadata on the user object through the data field. This is ideal for profile information that does not warrant its own database table — display name, avatar URL, timezone, notification preferences. For structured data like billing history or team memberships, use dedicated database tables with RLS policies.
The forgot password blocks (10 designs) handle the password reset flow. Supabase Auth provides a resetPasswordForEmail method that sends a reset link. The user clicks the link, lands on your reset page, and sets a new password through updateUser.
Type Safety with Generated Types
Supabase CLI generates TypeScript types directly from your database schema. This gives you full type safety on every query without manually defining interfaces:
npx supabase gen types typescript --project-id your-project-id > lib/database.types.tsUse the generated types when creating your Supabase client:
import { Database } from "@/lib/database.types";

export async function createClient() {
  const cookieStore = await cookies();
  return createServerClient<Database>(
    process.env.NEXT_PUBLIC_SUPABASE_URL!,
    process.env.NEXT_PUBLIC_SUPABASE_ANON_KEY!,
    { cookies: { /* ... */ } }
  );
}
Now every .from("tasks").select("*") call returns properly typed data. Your IDE auto-completes column names, catches typos at compile time, and the Task type used in your table blocks matches the actual database schema. When you add a column to the database, regenerate types and the compiler tells you every component that needs updating.
Deployment
Deploying a Next.js + Supabase application requires setting environment variables on your hosting platform and nothing else. Supabase runs as a hosted service — there is no backend to deploy. Your Next.js app deploys to Vercel, Cloudflare, or any platform that supports the App Router.
Set these environment variables in your hosting platform:
NEXT_PUBLIC_SUPABASE_URL— Your Supabase project URLNEXT_PUBLIC_SUPABASE_ANON_KEY— Your Supabase anon keyAny additional secrets for third-party integrations
Configure your Supabase project's authentication settings for production: add your production domain to the allowed redirect URLs, set up a custom SMTP provider for transactional emails (confirmation, password reset), and review your RLS policies one final time.
For production RLS, a common pattern is to add a created_by trigger that automatically sets the user_id column on insert, preventing users from setting another user's ID even if they manipulate form data:
create or replace function set_user_id()
returns trigger as $$
begin
  new.user_id := auth.uid();
  return new;
end;
$$ language plpgsql security definer;

create trigger set_user_id_trigger
  before insert on tasks
  for each row execute function set_user_id();
This trigger overrides whatever user_id value the insert query provides and sets it to the authenticated user's ID. Combined with RLS policies, this provides defense in depth against authorization bypass.
The Full Stack in 30 Minutes
Here is the timeline for assembling this application with SERP Blocks:
Minutes 1-5: Create Next.js project, install Supabase packages, configure environment variables, set up server and client Supabase utilities.
Minutes 5-10: Drop in a login block and a sign-up block. Wire form submissions to Supabase Auth server actions. Add the auth callback route and middleware for route protection.
Minutes 10-15: Create the database table in Supabase SQL editor. Enable RLS. Write select, insert, update, and delete policies. Generate TypeScript types.
Minutes 15-22: Drop in a dashboard block with stat cards and a table block for the task list. Write the server component that fetches data and the server actions for creating, updating, and deleting tasks. Connect the table block's action buttons (edit, delete, status change) to the server actions.
Minutes 22-27: Add a settings block for profile editing and an account overview block for user account status. Wire profile updates to Supabase Auth metadata.
Minutes 27-30: Deploy to your hosting platform. Set environment variables. Verify authentication, data operations, and RLS policies in production.
Thirty minutes is realistic if you are not building UI from scratch. The SERP Blocks library handles the frontend — 17 login designs, 20 dashboard layouts, 17 table components — so your time goes entirely into business logic and Supabase integration. The blocks are built with Shadcn UI and Tailwind CSS, which means they are actual React components in your codebase that you can modify, not an external dependency that limits your options.
SERP Blocks offers 60 free blocks to start, with the full library of 1,200+ blocks across 55+ categories available through a one-time Pro purchase. The login, sign-up, dashboard, table, settings, and account overview blocks used in this guide are part of that collection — designed to get full-stack applications to production faster.